

This comprehensive guide will help you diagnose and fix common motherboard problems that can cripple your computer’s performance. Your motherboard serves as the central hub connecting all hardware components, and when it malfunctions, you’ll experience anything from random shutdowns to complete system failure.
Understanding the warning signs such as POST beep codes, boot failures, or USB port malfunctions enables you to take swift action before minor issues escalate into costly replacements. Whether you’re dealing with capacitor bulging, BIOS corruption, or power delivery problems, you’ll learn practical troubleshooting techniques to address these issues yourself as complex repairs may require expert PC and motherboard repair services to safely restore your system’s functionality and prevent further damage.
Key Takeaways:
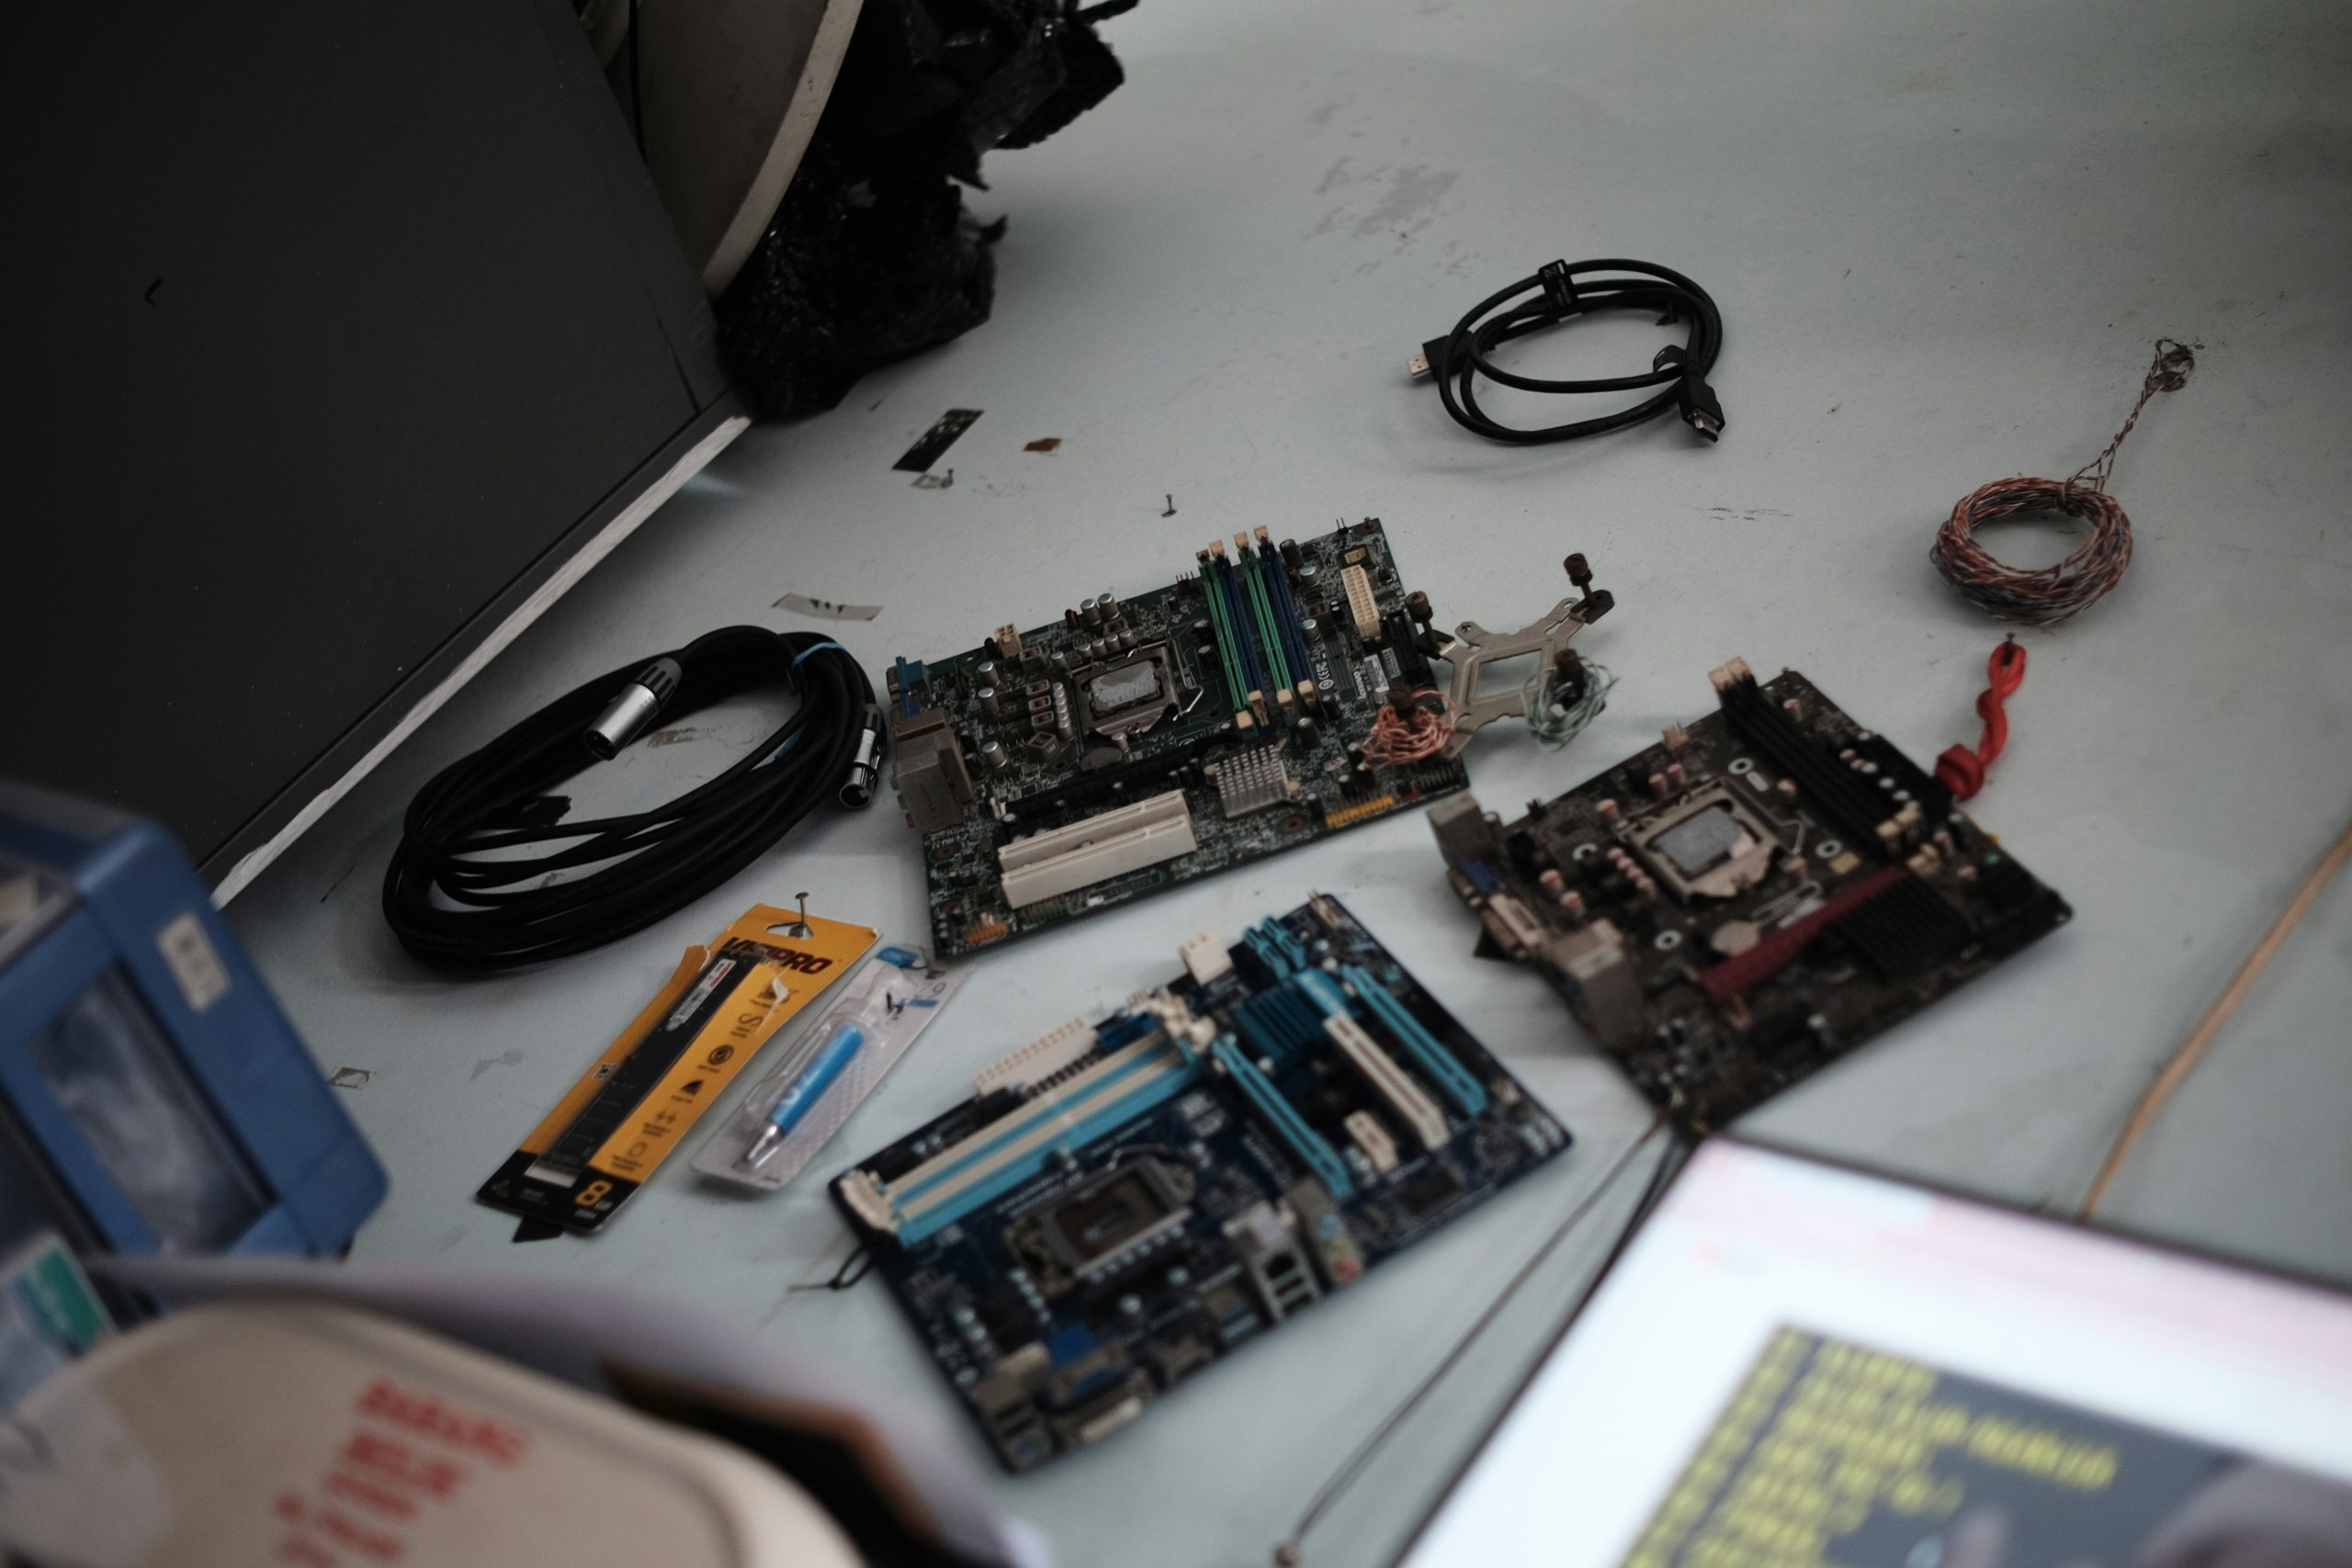
- Common motherboard problems include POST failures, random shutdowns, and USB port malfunctions, which can often be traced to faulty capacitors, damaged traces, or BIOS corruption. Visual inspection for bulging capacitors and burn marks should be your first diagnostic step.
- Testing components systematically helps isolate motherboard issues from other hardware failures. Remove all non-imperative components, test with minimal RAM in different slots, and use a POST card or motherboard speaker to interpret beep codes for accurate diagnosis.
- Many motherboard repairs are achievable with basic soldering skills and proper tools, including replacing capacitors, reseating chips, and reflowing solder joints. However, multilayer PCB damage or failed chipsets typically require professional repair or board replacement to restore functionality.
Types of Motherboard Issues
Your motherboard can experience various problems that range from complete failure to intermittent glitches. Power delivery issues often manifest as random shutdowns or failure to boot, while capacitor bulging indicates aging components that need replacement. BIOS corruption prevents proper system initialization, and physical damage from static discharge can destroy circuits instantly. You should always ground yourself before handling motherboard components to prevent electrostatic damage.
- Power regulation failures causing unstable voltage delivery
- Damaged PCIe or RAM slots preventing component recognition
- Corroded traces from liquid exposure
- Failed CMOS battery leading to configuration loss
- You must inspect for burn marks indicating short circuits
| Issue Type | Common Symptoms |
| Power Failures | No POST, random shutdowns, burning smell |
| Physical Damage | Visible cracks, bent pins, scorch marks |
| Component Failure | Non-functional ports, dead slots, no video output |
| BIOS Issues | Boot loops, error codes, configuration resets |
| Thermal Problems | Overheating, throttling, system instability |
Hardware Failures
Physical component degradation represents the most common motherboard problem you’ll encounter in systems over three years old. Capacitors rated for 2,000 hours can fail prematurely in high-temperature environments, causing voltage ripples that crash your system. Solder joints crack from thermal cycling, particularly around the CPU socket and chipset areas. Your VRM (Voltage Regulator Module) components may burn out under sustained high loads, especially in budget boards lacking adequate cooling. Inspect for discolored PCB areas, bulging capacitors, or components that feel abnormally hot during operation.
Software Conflicts
BIOS configuration errors and driver incompatibilities create symptoms that mimic hardware failure but stem from software issues. Your system might refuse to recognize newly installed RAM because of incorrect timing settings, or PCIe devices fail due to outdated chipset drivers. Firmware bugs in specific BIOS versions can cause USB ports to malfunction or prevent NVMe drives from booting properly.
Operating system conflicts with motherboard firmware occur frequently after major Windows updates that modify low-level drivers. Your TPM module might suddenly cause boot failures when security settings clash with BIOS configurations. ACPI implementation differences between BIOS versions and operating systems lead to sleep state problems where your computer won’t wake properly or shuts down instead of sleeping. Driver signature enforcement in newer Windows versions sometimes blocks legitimate motherboard utility software, preventing you from adjusting fan curves or monitoring voltages. You can resolve most software conflicts through systematic BIOS updates, clean driver installations, and proper configuration of boot parameters in both firmware and operating system settings.
Identifying Motherboard Problems
Your ability to pinpoint motherboard issues quickly will save you hours of troubleshooting and prevent unnecessary component replacements. Modern motherboards contain hundreds of integrated circuits and connection points, making them complex to diagnose without a systematic approach. You’ll need to distinguish between actual motherboard failures and problems caused by connected components, which account for approximately 40% of suspected motherboard issues according to computer repair industry data.
Diagnostic Tools
A POST card remains your most reliable diagnostic tool, displaying hexadecimal error codes that identify exactly where the boot process fails. You can purchase these cards for $15-$30, and they plug directly into PCIe or PCI slots to read BIOS codes. Digital multimeters help you verify power delivery by testing voltage at the 24-pin connector, where you should see +3.3V, +5V, and +12V rails within 5% tolerance. Software utilities like HWiNFO64 monitor temperature sensors and voltage regulators in real-time once your system boots.
Common Symptoms
No power response when pressing the power button typically indicates either PSU failure or motherboard power circuit damage. Your system might show lights and fans spinning but display nothing on screen, suggesting CPU socket issues or failed memory slots. Random restarts and blue screens often point to failing capacitors around the CPU socket, which you can identify by their bulging tops or leaked electrolyte residue.
USB ports that stop functioning in groups signal failed USB controller chips on your motherboard, while intermittent device recognition suggests cold solder joints on these ports. You might encounter situations where your system posts but fails to detect SATA drives, indicating problems with the storage controller or damaged SATA port circuits. Overheating issues manifest as sudden shutdowns during intensive tasks, frequently caused by failed voltage regulator MOSFETs near the CPU socket. Your BIOS might fail to save settings or show incorrect system time, revealing a dead CMOS battery or deeper RTC circuit problems that require motherboard-level repair.
Repairing Common Motherboard Issues
Most motherboard problems stem from physical damage, component failure, or BIOS corruption. You’ll find that capacitor bulging affects roughly 30% of aging motherboards, while dust accumulation causes overheating in another 25% of cases. Power delivery issues, failed CMOS batteries, and damaged traces account for the remaining failures. Your repair approach depends on your technical skill level and the specific problem you’re facing.
Step-by-Step Repair Guide
Following a systematic approach helps you tackle motherboard repairs safely and effectively. You should always disconnect power and ground yourself before touching any components to prevent electrostatic discharge damage.
| Issue | Repair Method |
| Failed CMOS Battery | Replace CR2032 battery, reset BIOS settings to default values |
| Bulging Capacitors | Desolder damaged capacitors, install matching replacements with correct voltage/capacitance ratings |
| Dust Buildup | Use compressed air at 15-degree angle, clean with isopropyl alcohol (90%+) for stubborn residue |
| Corrupted BIOS | Flash BIOS using USB recovery method or dual BIOS switch if available |
| Loose Connections | Reseat RAM, GPU, and power connectors; check for bent pins in CPU socket |
When to Seek Professional Help
Professional repair becomes necessary when dealing with multilayer PCB damage, BGA chip replacement, or microscopic trace repairs. These tasks require specialized equipment like hot air rework stations, microscopes, and multimeters that cost upwards of $500.
You should contact a certified technician if your motherboard shows physical burn marks, has sustained liquid damage affecting multiple components, or requires microsoldering work. Professional repair shops have access to schematic diagrams and component-level troubleshooting tools that identify failures beyond visual inspection. Your warranty status also matters-attempting DIY repairs on boards under manufacturer warranty voids coverage immediately. Complex issues like failed chipsets, damaged CPU sockets, or shorted voltage regulators typically cost $150-$300 to repair professionally, which often approaches the replacement cost of budget motherboards. Specialized gaming or workstation boards justify professional repair due to their $300-$800 replacement costs.
Factors Influencing Motherboard Performance
Your motherboard’s performance depends on multiple interconnected variables that directly impact system stability and processing speed. Chipset architecture determines data transfer rates between components, while VRM (Voltage Regulator Module) quality affects power delivery to your CPU. PCIe lane distribution controls bandwidth allocation for graphics cards and storage devices. BIOS firmware versions can improve or hinder hardware compatibility and system optimization.
- Chipset generation and specifications
- Power delivery system quality
- Memory controller capabilities
- PCIe lane configuration
The relationship between these elements creates a performance ecosystem that requires careful consideration during both selection and troubleshooting.
Environmental Factors
Temperature fluctuations and humidity levels significantly affect your motherboard’s longevity and reliability. Dust accumulation blocks airflow and creates insulating layers that trap heat around critical components. Ambient temperatures above 35°C (95°F) accelerate capacitor degradation and can cause thermal throttling. Moisture exposure leads to corrosion on traces and solder joints, particularly in coastal or humid climates.
- Operating temperature ranges
- Dust and particulate buildup
- Humidity and moisture exposure
- Static electricity risks
Recognizing environmental threats early allows you to implement preventive measures before permanent damage occurs.
Component Compatibility
Your motherboard’s socket type, chipset, and BIOS version determine which processors, RAM modules, and expansion cards will function properly. Intel’s LGA1700 socket only accepts 12th generation and newer CPUs, while AM4 supports multiple Ryzen generations with appropriate BIOS updates. DDR4 and DDR5 memory slots are physically incompatible, preventing incorrect installation but limiting upgrade paths.
Compatibility extends beyond physical connections to include power requirements and communication protocols. Your 500-watt PSU might physically connect to a high-end motherboard, but inadequate amperage on the 12V rail causes instability under load. PCIe generation mismatches between your motherboard and NVMe drives result in reduced transfer speeds-a Gen 3 slot limits your Gen 4 SSD to 3,500 MB/s instead of its rated 7,000 MB/s. BIOS updates often expand CPU support lists, but flashing requires compatible hardware already installed. You’ll encounter POST failures when pairing unsupported components, even if specifications suggest compatibility on paper.
Tips for Preventing Motherboard Issues
Protecting your motherboard from damage requires consistent attention to both environmental factors and handling practices. You should keep your system clean by removing dust buildup every three to six months, as accumulated particles can cause overheating and short circuits. Ground yourself before touching internal components to prevent electrostatic discharge, which damages sensitive circuitry even at levels you can’t feel. Install a quality surge protector or uninterruptible power supply to shield against voltage spikes that account for nearly 30% of motherboard failures. Monitor your system temperatures using software tools, ensuring your CPU stays below 80°C and ambient case temperature remains under 50°C. Perceiving these preventive measures as optional rather than vital often leads to costly repairs down the line.
- Use compressed air to clean dust from heatsinks and fans quarterly
- Apply thermal paste correctly when installing or reseating CPU coolers
- Secure all power connections to prevent arcing and intermittent contact
- Update BIOS firmware only when necessary and with stable power supply
- Avoid overclocking beyond manufacturer specifications without adequate cooling
Regular Maintenance
Your motherboard benefits significantly from scheduled cleaning and inspection routines. Dust accumulation creates insulating layers that trap heat around voltage regulators and chipsets, reducing their operational lifespan by up to 40%. You should visually inspect capacitors for bulging or leaking every six months, as these components typically show physical signs before complete failure. Check all cable connections for looseness, since vibration from fans can gradually work connectors free over time. Perceiving maintenance as a quarterly task rather than an annual chore helps you catch problems before they escalate into complete system failures.
Safe Operating Conditions
Your motherboard operates optimally within specific environmental parameters that you must maintain. Keep ambient room temperature between 20-24°C and relative humidity between 40%-60%, as excessive moisture promotes corrosion on circuit traces and solder joints. Position your computer away from direct sunlight, heating vents, and appliances that generate electromagnetic interference. Studies show that motherboards running in temperatures above 35°C experience failure rates three times higher than those in properly cooled environments. Perceiving temperature control as secondary to performance upgrades puts your entire system at unnecessary risk.
You need adequate airflow through your case to maintain these safe conditions effectively. Install at least two case fans in a front-to-back or bottom-to-top configuration, creating positive air pressure that prevents dust infiltration. Your power supply should have at least 20% headroom above your system’s maximum draw to prevent voltage fluctuations during peak loads. Cable management directly impacts airflow-bundled cables behind the motherboard tray improve air circulation by up to 15% compared to tangled configurations. Mounting your PC on a raised surface rather than carpet reduces dust intake and improves ventilation from bottom-mounted power supplies. These environmental controls work together to extend motherboard life expectancy from the typical 5-7 years to potentially 10 years or more.
Pros and Cons of Motherboard Repair vs. Replacement
Your decision between repairing or replacing a faulty motherboard depends on several technical and financial factors. Understanding the trade-offs helps you make an informed choice that aligns with your system’s age, your budget constraints, and your performance expectations. Each option presents distinct advantages and limitations that directly impact your computer’s functionality and longevity.
| Repair Pros | Repair Cons |
| Costs 40%-60% less than replacement | Limited warranty coverage (typically 30-90 days) |
| Preserves existing component compatibility | May not fix underlying issues completely |
| Faster turnaround time (2-5 days) | Reduced motherboard lifespan after repair |
| Retains BIOS settings and configurations | Difficult to find parts for older models |
| Environmentally friendly option | Risk of additional failures in other components |
| Replacement Pros | Replacement Cons |
| Full manufacturer warranty (1-3 years) | Higher upfront cost ($150-$500+) |
| Access to newer technology and features | May require CPU, RAM, or cooling upgrades |
| Improved power efficiency and performance | Time-intensive reinstallation process |
| Better long-term reliability | Potential driver and compatibility issues |
| Enhanced expansion capabilities | Need to reconfigure BIOS from scratch |
Cost Considerations
Motherboard repairs typically range from $75 to $150, while replacement boards cost between $150 and $500 depending on your system specifications. You’ll need to factor in labour charges of $50-$100 for professional installation if you’re not comfortable handling the swap yourself. Boards older than five years often cost more to repair due to scarce replacement components, making new purchases more economical. Your total investment should account for potential additional upgrades like RAM or CPU compatibility requirements with newer motherboards.
Performance Implications
Repairing your existing motherboard maintains your current performance levels without introducing new variables into your system configuration. You’ll retain the same PCIe generation, RAM speed limitations, and chipset capabilities that defined your original setup. Replacement boards frequently offer substantial performance upgrades through faster data transfer rates, additional M.2 slots, and support for newer processor architectures that can boost overall system responsiveness by 15%-30%.
The performance gap becomes particularly noticeable when you’re upgrading from DDR3 to DDR4 or DDR5 memory support, which can improve multitasking capabilities and application loading times significantly. Newer motherboards also provide better power delivery systems with more robust VRM configurations, allowing for improved CPU stability under heavy workloads. Your choice impacts future expandability too-modern boards support PCIe 4.0 or 5.0 for faster NVMe storage and graphics cards, while repaired older models lock you into previous-generation technology. Gaming performance can see frame rate increases of 10%-25% when pairing a new motherboard with compatible high-speed components, though these gains depend heavily on your specific use case and existing hardware bottlenecks.
Conclusion
Conclusively, diagnosing and repairing motherboard issues requires your careful attention to detail and systematic troubleshooting approach. You should always start by identifying symptoms, checking power connections, and examining components for visible damage. When you encounter problems, test each element methodically, from RAM and CPU to BIOS settings and expansion cards. Your success depends on using proper tools, following safety protocols, and knowing when professional intervention becomes necessary. By mastering these diagnostic techniques, you’ll save time and money while extending your computer’s lifespan and maintaining optimal system performance.
Frequently Asked Questions (FAQ)
What are the most common signs that my motherboard is failing?
Several symptoms indicate potential motherboard problems. Your computer may fail to boot at all, showing no signs of power or displaying only a blank screen. You might hear repeated beeping sounds during startup, which are error codes indicating hardware failures. Random system crashes, frequent blue screens of death, or unexpected restarts often point to motherboard issues. Physical symptoms include burning smells, visible damage to capacitors (bulging or leaking), or scorch marks on the board. USB ports and other connectors may stop working intermittently or completely. The system might recognize only some of your RAM or fail to detect hard drives and other connected components.
How can I diagnose whether the problem is actually the motherboard or another component?
Start by performing systematic elimination testing. First, disconnect all non-vital components including extra RAM sticks, graphics cards, and peripheral devices, leaving only the CPU, one RAM stick, and power connections. Try booting the system in this minimal state. Test your power supply with a multimeter or PSU tester to ensure it delivers correct voltages. Swap RAM modules to different slots and test with known working memory. Check for POST (Power-On Self-Test) beep codes specific to your motherboard manufacturer. Inspect the motherboard visually under good lighting for burned components, damaged traces, or leaking capacitors. Use a POST card diagnostic tool that plugs into a motherboard slot to identify specific error codes. Test individual components in another working computer to verify they function properly. If all components work elsewhere but fail in your system, the motherboard is likely the culprit.
What motherboard repairs can I perform myself versus what requires professional service?
Simple repairs you can handle include cleaning dust buildup with compressed air, reseating loose components like RAM and expansion cards, and replacing the CMOS battery if your system loses time or BIOS settings. You can also reflash corrupted BIOS firmware using manufacturer-provided tools and update chipset drivers. Straightening bent pins in CPU sockets requires patience but is doable with steady hands and proper tools like a mechanical pencil or credit card. However, component-level repairs require professional expertise. Replacing surface-mount components like capacitors, voltage regulators, or integrated circuits demands specialized soldering equipment and microelectronics skills. Repairing damaged circuit traces or fixing short circuits requires professional diagnostic equipment. Water damage assessment and cleaning needs expert handling to prevent further corrosion. If your motherboard is under warranty, any DIY repair attempts will void it, so contact the manufacturer instead. For out-of-warranty boards, weigh repair costs against replacement prices, as new motherboards often prove more cost-effective than professional repairs.