




A few weeks ago I wanted to add automatic cover images to a side project, a little tool that turns blog drafts into shareable posts. Simple enough, I thought. Pick an image model, call the API, done by dinner.
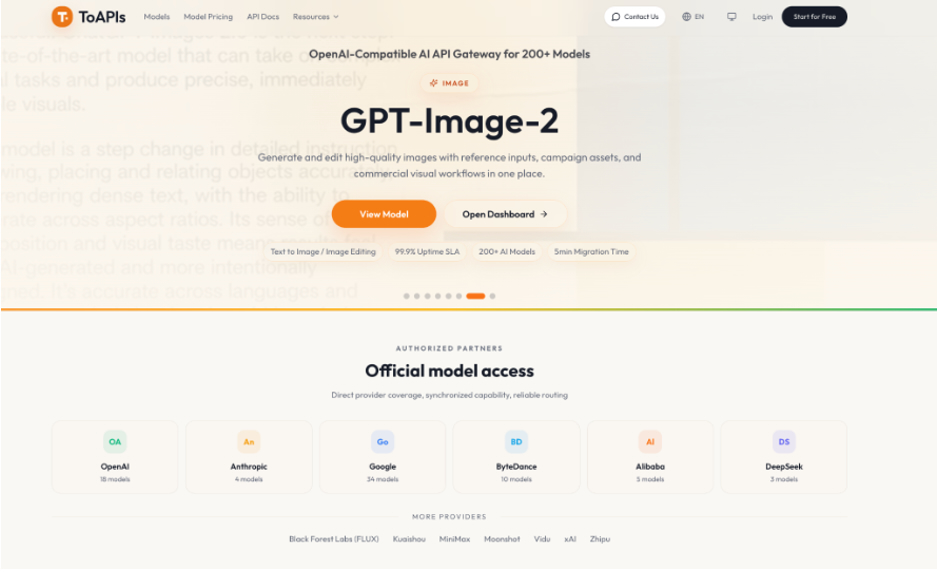
It didn’t go that way. Rather than signing up with every provider and stitching the results together, I decided to tryToAPIs, an OpenAI-compatible gateway that puts text, image and video models behind one API and one key. That choice saved me some work, although I only understood why after seeing what the alternatives involved.
The Boring Part Nobody Warns You About
The trouble with adding AI features isn’t the generation itself. It’s everything around it. Every provider has its own request format, its own way of handling keys, its own rate limits and its own billing dashboard. Before settling on a gateway, I’d signed up for two services just to compare output. By Sunday afternoon I had two sets of credentials, two invoices to watch, and an awkward if provider == … branch I already knew I’d regret.
Then one of those services started throwing rate limit errors during a test run. My app didn’t handle them gracefully. It just stopped. That was when I stopped thinking of this as a model-picking problem and started treating it as a plumbing problem.
What a Gateway Actually Changes
The idea is simple. Instead of wiring your app directly to each provider, you point it at a single API that follows a familiar request format. The gateway handles the connections behind the scenes. If you’ve used the OpenAI SDK, much of the setup will look familiar, although individual models can still have their own parameters and response behavior.
You also get one place to manage usage and billing instead of several. I’m not going to pretend it’s magic. But for a small project where I didn’t want to maintain three separate integrations, it was worth an evening to try.
What the Switch Actually Involved
Less than I expected. The gateway used a familiar base URL and API key setup, so I didn’t need to redesign the rest of my application. For image generation, I used a straightforward HTTP request because the model returns an asynchronous task rather than an immediate image.
Here’s a simplified version of the submission code:
import os import requests response = requests.post( “https://toapis.com/v1/images/generations”, headers={ “Authorization”: f”Bearer {os.environ[‘TOAPIS_API_KEY’]}” }, json={ “model”: “gpt-image-2”, “prompt”: “Flat illustration of a desk with a laptop and a cup of tea, soft morning light”, “size”: “1:1”, “resolution”: “1k” }, timeout=30 ) response.raise_for_status() task_id = response.json()[“id”] print(task_id)
That submits the image request. The next step is to check the task status and retrieve the finished image. I kept that part separate so the app could handle jobs that took longer than expected.
A couple of things tripped me up, so they’re worth flagging.
First, model names. They don’t always match what you’d type when calling a provider directly, so check the model list before assuming. I wasted twenty minutes on a “model not found” error that turned out to be a naming mismatch.
Second, rate limits still exist. A gateway doesn’t make them vanish. I added a simple retry with exponential backoff and made sure failed requests wouldn’t bring down the whole process. If you’re hitting 429 errors, backing off and reducing concurrent requests is a sensible first step, whatever service you’re using.
What I Learned About Image Generation
For the images themselves I settled on the GPT Image 2 API, mainly because it handled two things I needed: generating from a text prompt and working from reference images. The second mattered more than I’d expected. Once the tool could take an existing graphic and use it as a visual reference, it became far more useful than a plain text-to-image box.
One thing to know is that image jobs can run asynchronously. You submit a task, get an identifier, then check its status until the result is ready. That’s fine, but it changes how you structure your code. My first version assumed an instant response, and I had to untangle it later.
Prompt wording also made more difference than I’d expected. Short, concrete instructions like “a flat illustration of a desk, soft light, no text” generally gave me more usable results than long, flowery descriptions. I wasn’t always happy with lettering inside generated images, so I started adding titles and labels myself afterwards.
When a Gateway Isn’t Worth Using
I should be upfront about this. If you only ever use one provider, and you’re happy with its pricing and reliability, a gateway adds another layer you may not need. You’d be solving a problem you don’t have.
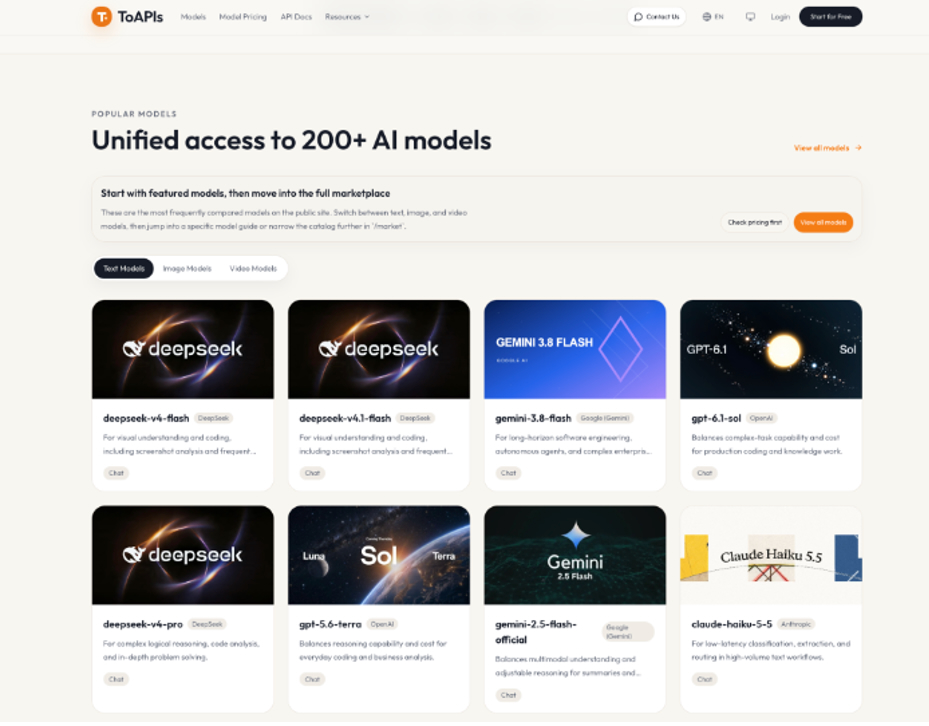
It also pays to read the pricing page before moving anything serious. Some models are billed per token, others per request or generated image. The costs aren’t really comparable until you’ve worked out how you’ll use them. I’d suggest starting with one low-stakes feature and watching usage for a week before migrating anything important.
There’s also the question of dependency. A gateway simplifies provider management, but your application still relies on that gateway being available. Timeouts, retries and error logging remain your responsibility.
What I Would Do Next Time
For me, the win wasn’t a single model. It was having a consistent way to work with different models and one place to check usage instead of several. Switching still takes some testing, especially when models accept different parameters, but the integration is easier to manage.
If you’re building something similar, my advice is to resist the urge to over-engineer. Pick one feature, get a working call, add a basic retry, and only then think about fallbacks and cost tuning. The initial setup is the easy bit. It’s the habits you build around it that make it hold up.
