

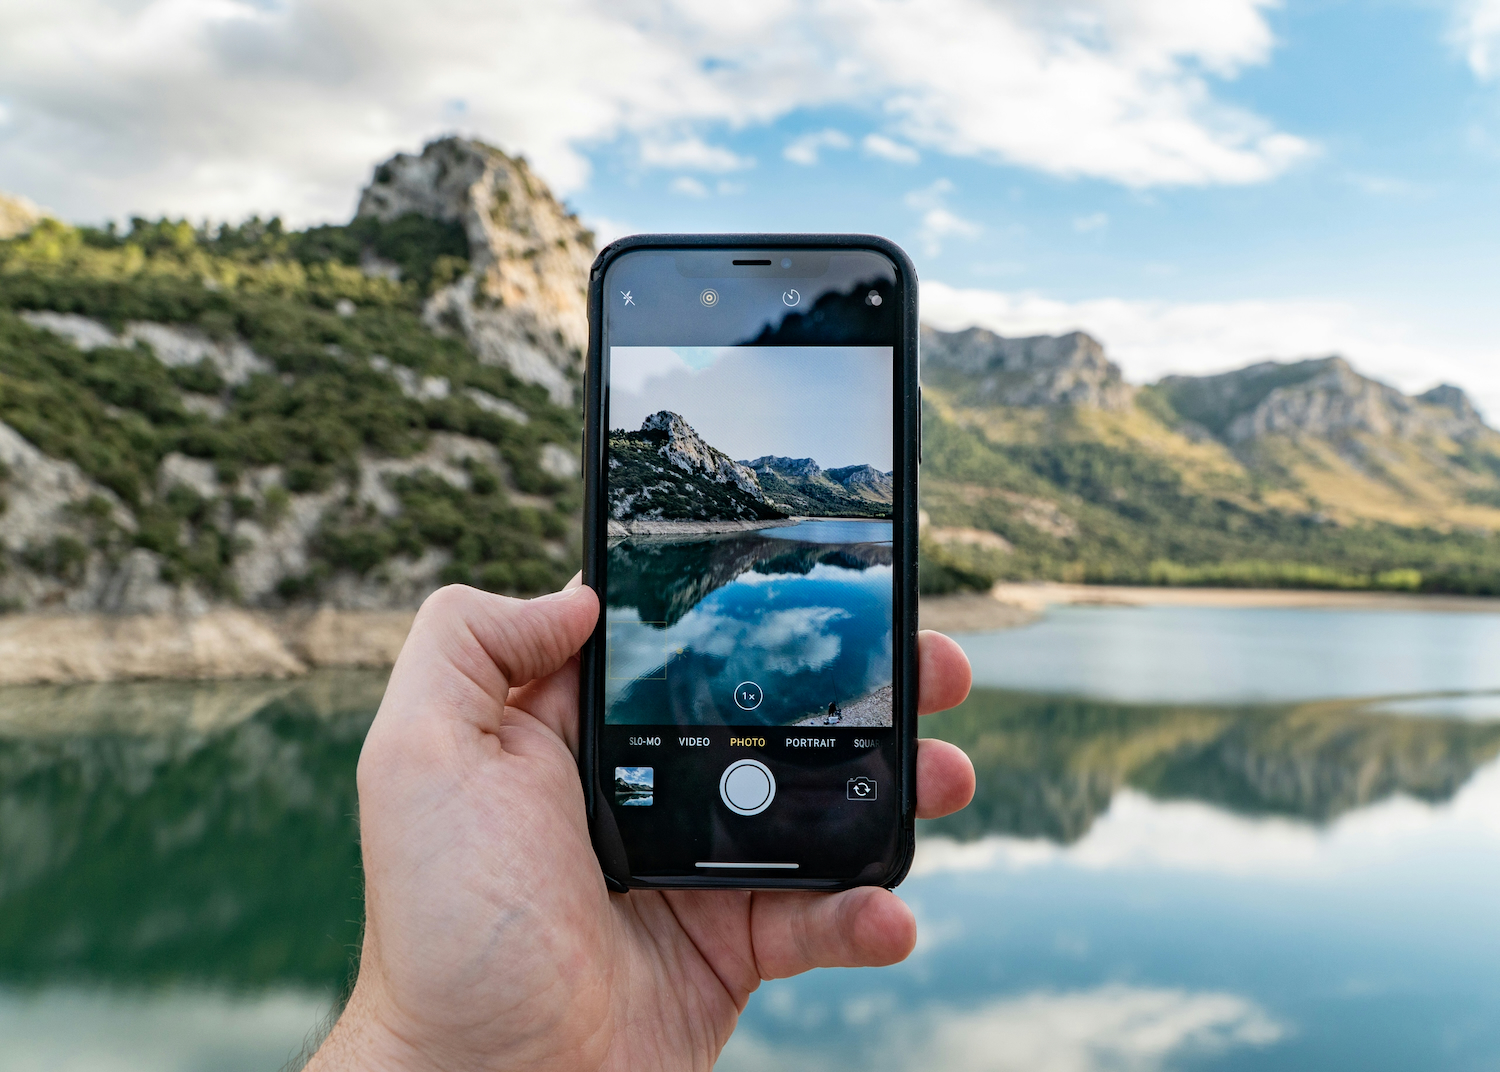


Smartphone cameras now make it way too easy to get close to an object without actually moving closer. One quick pinch on the screen and something in the distance suddenly becomes the main focus of your photo.
On your phone, it looks perfectly fine. The issue only pops up later when you open it on a laptop, crop it in tighter, or try to print it — that’s when you realise the sharp detail you thought you captured isn’t really there.
Why Digital Zoom Is Different From Getting Closer
Most phones in Australia now advertise 30x, 50x, even 100x zoom. What they don’t always make clear is that only a small slice of that is optical.
Optical zoom is real. The lens physically moves to magnify the scene. Detail stays intact because you’re actually getting closer.
Digital zoom is a crop. The phone takes the centre of the image and stretches it to fill the frame. To fill in the gaps, it has to guess what should be there. That guessing is called interpolation.
For example, your main 50MP sensor might be great at 1x. At 2x it might still be using a lossless crop from that sensor — pretty good. But at 10x? You’re no longer using 50 million pixels of real information. You’re using maybe 2-3 million pixels blown up to look like 12 million. The software tries to smooth it over, but smooth is the problem.
The image below shows the issue.
The top half is the original 1x wide shot, sharp and detailed. The boxed area is cropped and magnified at the bottom to simulate 10x digital zoom, where brickwork, balconies, and leaves turn soft, smeared, and blocky as the phone guesses the missing pixels.
That softness isn’t the “blur” from camera shake. Once you’re past real optical zoom, your phone is stretching one pixel to cover 4, 8, or 16 pixels. So you get broken lines, blended textures, and small details like railings and leaves all smeared together.
And this is exactly why it looks worse after you crop. You’re magnifying the guesswork a second time.
What Happens When You Crop the Photo Later?
Zooming while shooting gets the blame, but cropping after you take the photo does the exact same damage.
Cropping feels harmless, but it deletes data. Crop a 12MP image down to 25% and you’re left with 3MP. Stretch it back to full screen and there’s nothing for your phone to use except guesswork. That’s why hair turns into a single blurry clump, brickwork loses its lines, and small text becomes unreadable.
There’s also another layer most people don’t think about — compression.
The moment you press the shutter, your phone saves that photo as a JPEG or HEIF to save space. In simple areas like a blue sky, compression is invisible. In complex areas — leaves, grass, fabric, skin — the phone deletes fine texture to make the file smaller. You don’t notice at 1x. But when you crop in later, you’re not just magnifying the subject, you’re magnifying the compression artefacts too.
Then light and handshake make it worse. At long zoom, tiny movements are exaggerated. The phone compensates by bumping up ISO and using a faster shutter. Higher ISO means more noise. To hide that noise, noise reduction kicks in, and it wipes out real detail along with it.
So a heavy digital zoom or crop actually goes through four stages of damage: crop, interpolation, compression, and aggressive noise reduction. Each one takes a little more detail away.
Can a Bad Crop Still Be Saved?
Sometimes, yes.
Not every soft crop needs to be deleted. However, if the subject is already very soft, no editing tool can bring back every detail that the camera failed to capture.
The common fix people try is pushing the sharpness slider to maximum. That does not add detail. It adds harsh edges and halos around already smeared pixels, which makes blockiness more obvious. The image looks crunchier, but not clearer.
A more effective approach is texture reconstruction. Instead of simply sharpening what remains, newer enhancement tools analyse patterns in the image and attempt to rebuild texture that was lost during interpolation and compression.
Take the above example.
The right-side crop is a good illustration of digital damage: the brick lines merge together, balcony railings lose their shape, and the surrounding foliage turns into a single soft mass.
After running that same cropped area through an AI image enhancer, the difference is mainly in edge separation. Brickwork shows pattern again, balconies regain definition, and leaves have some separation rather than blending into a green smear.
Steps to Enhance a Cropped Smartphone Photo
Wink Image Enhancer is built for this kind of fix — when the photo has already been taken and a heavy crop has left the subject looking soft. It gives you a way to clean up the image before using it elsewhere. Here is a quick workflow you can follow:
Step 1: Rebuild Texture Before Resizing
Upload the photo to the Wink image enhancer. Use the original photo from the camera roll, not a screenshot of the cropped version — you want the tool to work from the most data possible.

Once the image is uploaded, next select the enhancement mode that fits your subject. For example, if it’s a person or pet that went soft after a 10x crop, use Portrait. If it’s a building, landscape like the Story Bridge shot, or a wide scene that lost detail, use AI UHD or Ultra HD. This tells the AI what kind of texture it should rebuild — skin and hair vs. brickwork, steel and foliage.
Within seconds, the tool analyses patterns in the cropped area and reconstructs what was lost during interpolation and compression. The fur that turned into a single blurry clump regains strand separation, and distant text or small details become readable again without harsh sharpening halos.
Step 2: Upscale Back to a Usable Resolution
Once detail is restored, increase the resolution. For this step, use Wink AI Upscaler.
It gives you options depending on what you need it for — 1080P HD if you’re just posting or messaging it, 2K UHD for a cleaner, sharper view on a bigger screen, and 4K Ultimate or 8K Master if you want to print it or hold onto the file for future crops.
Select your size, hit Start, and download the result once at high quality.

You can see in the above image that the difference isn’t about adding fake sharpness. On the left, the crop looks soft — fur clumps together and the background sign is slightly smeared from the earlier digital zoom and compression. On the right, after enhancing first and then upscaling, individual strands separate, eye reflection comes back, and edges stay clean without halos.
That’s why the order matters: restore texture in the Image Enhancer, then upscale photos to 4K after cropping in the AI Upscaler. Doing it the other way around just makes a bigger blurry file.
Quick Rule of Thumb for Next Time
If you know you’ll have to crop later, shoot wider. A clean 1x or 2x shot from your main 50MP sensor will always give you more real pixels to work with than a 10x digital zoom in the moment.
Wink won’t turn a completely destroyed crop into a DSLR shot — no tool can invent detail that was never captured — but when the crop is soft rather than completely gone, rebuilding texture first and then upscaling is what makes it usable again on a bigger screen or in print.
